Speech Synthesizer, Now from the Past
Contents
If you can't Hack the Future then Hack the Past
We all have project scraps and false starts. But, what if your false start was from the 1980s? Well this project began with a purchase from RadioShack in the mid-80's and has finally been completed.
Let The Chips Complete Thier Destiny
This project began in the overflow bin of the Westport Road, Camelot Shopping Center, RadioShack in the early 1980s. I was looking at the offerings and came across the SP0256 Narrator Speech Processor (276-1784) and the CTS256A-AL2 Code-To-Speech Processing Chip (276-1786). These demanded immediate purchase and project completion. I bought the pair and began my first build with them, in 1990.
Why the delay? Well, college and an engineering degree got priority, but I did not forget they were waiting. So, when someone was extolling the speech capability of a MAC at work, I said I could build one (speech synthesizer) for a PC in no time. This was taken as a challenge and I began the project.
Now, the chip pair would require a bit more interfacing work than I bargained for. I settled on using just the SP0256 connected to the parallel port of the PC. The schematic was in the Archer Technical Data sheets, “An Exclusive Radio Shack Service to the Experimenter”.
Schematic
Bill Of Materials
| Item | Catalog Nbr | Qty | |
| SP0256 Narrator Speech Processor | 276-1784 | 1 | |
| 1N914/4148 Silicon Switching Diode | 276-1122 | 2 | |
| MPS 2907 PNP Transistor | 276-2023 | 2 | |
| 0.1uf Capacitor | 272-1069 | 5 | Note # 1 |
| 0.022uf Capacitor | 272-1066 | 2 | |
| 22pf Ceramic Disc Capacitor | 272-806 | 2 | Note # 2 |
| 100uf Electrolytic | 272-1028 | 1 | |
| 10uf Tantalum | 272-1436 | 1 | Note # 3 |
| 1uf Tantalum | 272-1434 | 1 | Note # 3 |
| 200K Resistor | 1 | Note # 4 | |
| 100K Resistor | 271-045 | 4 | |
| 33K Resistor | 271-040 | 2 | |
| 10K Resistor | 271-034 | 1 | |
| 1K Resistor | 271-1321 | 1 | Note # 5 |
| 10 ohm Resistor | 271-001 | 1 | |
| 10K Potentiometer | scavenged | 1 | |
| 3.12 MHz Crystal | 1 | Note # 6 | |
| Ribbon Cable | 278-772 | 1 | |
| 25 Position D-Sub Male Connector | 276-1559 | 1 | |
| Perf Board 2 ¾ x 6” | 276-1395 | 1 | |
| Audio Amp IC LM386 | 276-1731 | 1 | |
| 8 Pin DIP Socket | 276-1995 | 1 | |
| Speaker 3” 8ohm | 40-248 | 1 | |
| Audio Transformer | scavenged | 1 | Note # 7 |
| Phono-Jack | scavenged | 1 |
| Notes | |
|---|---|
| #1 | One was scavenged from an assortment pack as is huge and brown. |
| #2 | From an assortment pack |
| #3 | Electrolytic specified but tantalum was in stock |
| #4 | Used two 100K resistors in series |
| #5 | This is a ¼ watt resistor, the rest are ½ watt |
| #6 | Had to special order from store in 1990. |
| #7 | Audio transformer not called out in schematic and unnecessary (live learn) |
| Scavenged parts from various broken pieces of equipment | |
Construction
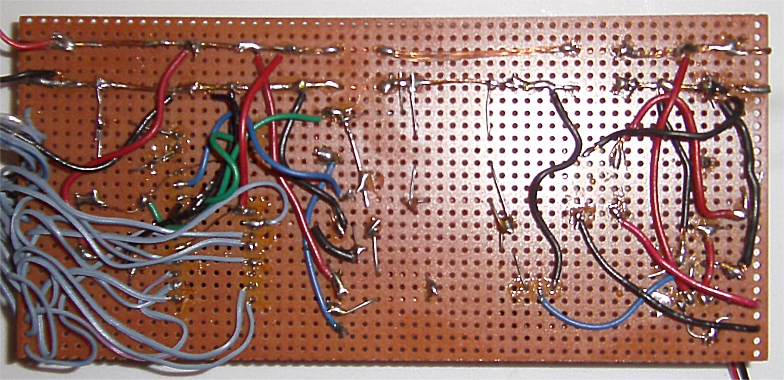
This was built on a plain perf board. It is a combination of point-to-point soldering with wires for connections when unavoidable for the layout or the prevention of short circuits.
The circuit is basically two circuits joined by a common power supply and a single analog line. The circuit on the left is the interfacing circuitry for the SP0256 chip to a standard parallel port connector (25 pin Sub-D). The circuit on the right is a generic audio amplifier circuit. Both circuits share a power bus along the bottom. From the left, a ribbon cable connects to the parallel port and beneath it is a phono-jack used for connecting power. On the right, the speaker is connected.
The Circuit Board
Top
Bottom
Wait There Is More ...
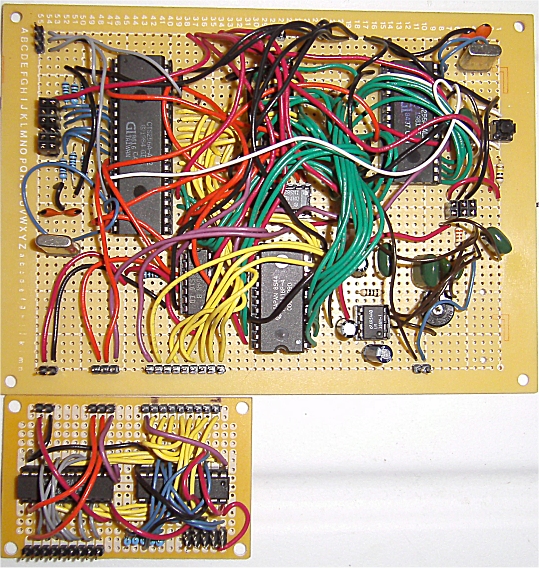
The board above is just as it stood in 1990, plus a few recent repairs. But the project doesn’t end there. What about the CTS256A-AL2? The chip sat in my parts box for another twenty years until I saw that Radio Shack wanted to let the DIY community know that they are ready to help. So, I brushed off the parts box and acquired a couple more SP0256 chips. I then set about making another speech synthesizer using both chips and including three optional additions in the CTS256A-AL2 Technical Data sheet.
That project is finishing up. But here is a teaser.


