Oculus LVL1 2018
[Equipment|Back to list of Equipment]]

|
Contents
General
Note
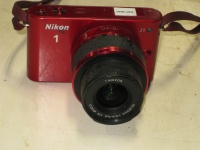
This camera is for our Flickr and Facebook photostreams. The equipment for virtual reality projects is Oculus Rifts.
Photostream
Photos taken with this camera are automagically uploaded to our Flickr Photostream and Facebook page. Please leave the camera turned on after taking photos so the upload can take place. The files are transferred through the design computer (the one near the lasers with the really big monitor) so it has to be on too.
Taking Pictures
There are four modes on the camera, selected by the dial on the top right corner as you look at the back of the camera. Please use the Still Images mode -- it's the one that looks like a green camera. You may take movies with the Moving Images mode, but those do not get uploaded. You'll have to get them from the design computer under the C:\Users\LVL1\Dropbox\oculus folder.
There is a built-in flash on the camera. It pops up from the top left corner (as you look at the back of the camera) by sliding the release to the side.
Press the large red button on top half-way down and hold it to focus the camera. Press that button all the way down to take a picture.
Battery Rotation
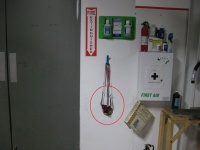
The battery charger for this camera is on the wall next to the stairs that lead to the bathroom. The batteries are numbered. Please use them in order.
- If battery #1 is in the camera, battery #2 should be "on deck" (above the charger), and battery #3 should be in the charger.
- When you put battery #1 in the charger, move battery #3 "on deck" and put battery #2 in the camera.
- When you put battery #2 in the charger, move battery #1 "on deck" and put battery #3 in the camera.
- When you put battery #3 in the charger, move battery #2 "on deck" and put battery #1 in the camera.
How to Change Batteries
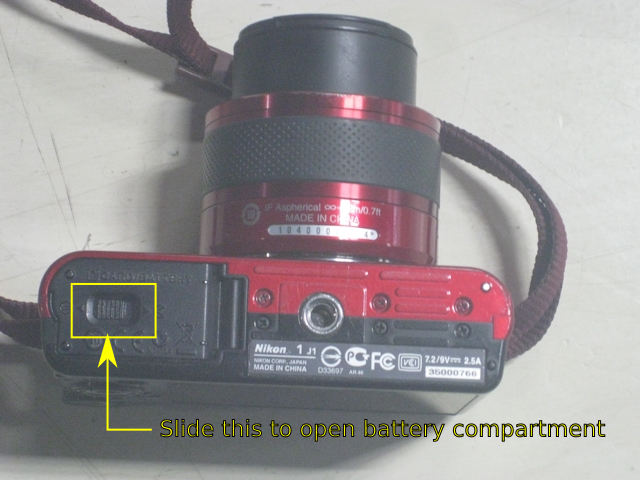
- (Not pictured) Close and lock the battery compartment.


