Coffin Tester: Difference between revisions
| Line 253: | Line 253: | ||
#include "Adafruit_GC9A01A.h" | #include "Adafruit_GC9A01A.h" | ||
#include "esp_camera.h" | #include "esp_camera.h" | ||
#include "esp_timer.h" | |||
#include "human_face_detect_msr01.hpp" | |||
#include "human_face_detect_mnp01.hpp" | |||
</nowiki> | </nowiki> | ||
Revision as of 18:30, 17 June 2024
Prelude To The Madness
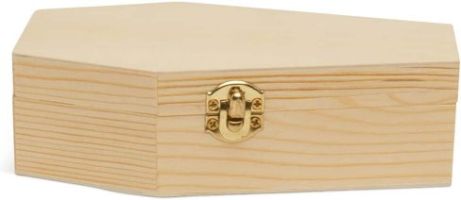
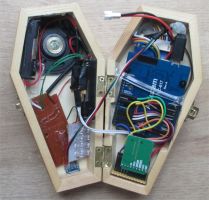
What better project to resurrect from the incomplete project pile then “The Coffin Tester”? This project was inspired by the chance encounter of a small wooden coffin at a hobby store. With a coffin comes the standard project ideas: Someone is trying to get out or someone is inviting you in. Making both projects at once was my decision.
Overview from 6ft Under
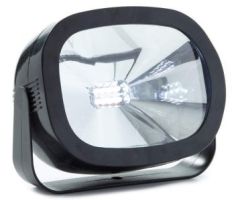
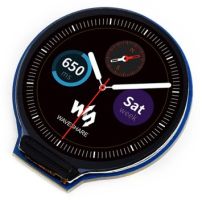
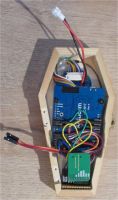
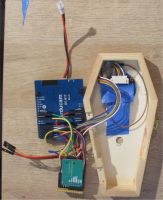
The embedded coffin display in the lid shows classic monster portraits, letting you know who is inside. However, the camera in the lid also takes images of the viewer. When it detects a face, it displays the image on the display, letting you know that you are inside now. A Halloween SFX module within the box fires up and horror ensues. The WiFi capable board within makes future upgrades to functionality possible. The horror never ends.
Part Selection
| Common Materials | ||||
|---|---|---|---|---|
| Name | ||||
| Jumper Wires Female/Female | ||||
| Strip Board | ||||
| Header Pins Male | ||||
| Header Pins Female | ||||
| Electrical Tape | ||||
| Heat Shrink Tubing | ||||
Element Preparation
| Elements | ||||
|---|---|---|---|---|
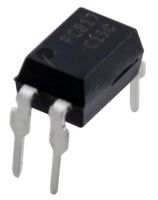
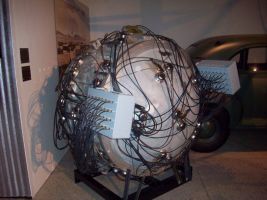
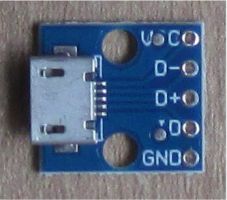
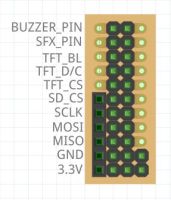
| Halloween SFX Module | ArduCam ESP32S Uno w/ PSRAM | Coffin Top | Coffin Bottom | |
|
|
|
| |
Project Surprises:
- GPIO02 boot-up tests for PSRAM voltage requirement interfered with HSPI Bus usage. Required eFuse setting to permanent PSRAM voltage level for HSPI normal operation
- ESP32 Cam with AI-Thinker hardware setup can be used for the project with a simple pin assignment change and the creators choice of one function loss.
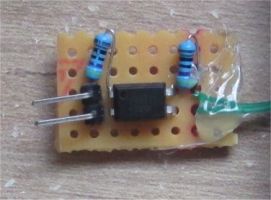
- An overly elaborate method for using a vibrating motor to trigger SFX module, isolating the module electrically from Microcontroller abandon due to unnecessary complexity and stray triggering from handling project.
- SFX module uses High Brightness LEDs that cause short bursts of high current that have to be handled by separate battery pack in order to not require additional power supply circuitry for a common power supply.
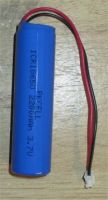
- I had a ICR18650 lying around, so battery operation of project utilizing built in charging of the ArduCam. Then again, it could be a self-destruct method.
- Had to pin down ArduCam board in coffin, so I used a piece of a plastic fork.
Programming Elements
- TFT display for the ArduCam
- HSPI usage
- Facial Detection Code
- Simple RAW Image decoding for saved images
- Camera image buffer display to TFT display
Assemblies
Resource
| Parts | |
|---|---|
| Item | Link |
| ArduCam Product Page | https://www.arducam.com/product/b0192-arducam-iotai-esp32-uno-psram-ov2640-camera/ |
| GCA901A Demo on ESP32 | https://github.com/talofer99/ESP32CAM-Capture-and-send-image-over-esp-now |
| ESP32 SPI Information | https://randomnerdtutorials.com/esp32-spi-communication-arduino/ |
| ESP32 Now | https://randomnerdtutorials.com/esp-now-two-way-communication-esp32/ |
| ESP32 Cam Photo Webserver | https://randomnerdtutorials.com/esp32-cam-take-photo-display-web-server/ |
| ESP32 Cam Selfie | https://robotzero.one/esp32-cam-tft-selfie/ |
| ESP32 Cam Pinout Guide | https://randomnerdtutorials.com/esp32-cam-ai-thinker-pinout/ |
| ESP32 Cam Settings Guide | https://randomnerdtutorials.com/esp32-cam-ov2640-camera-settings/ |
| ESP32 Cam as Camera with Display | https://www.instructables.com/ESP32-ESP32-CAM-With-OV2640-Using-SIPHSPI-for-TFT-/ |
| ESP32 Camera and Webserver Sample Program from hardware library | Ardunio IDE Library |
| ESP-DL | https://github.com/espressif/esp-dl |
Demonstration Video
Code
 #include <SPI.h>
 #include "FS.h"
 #include <SD.h>
 #include "Adafruit_GFX.h"
 #include "Adafruit_GC9A01A.h"
 #include "esp_camera.h"
 #include "esp_timer.h"
 #include "human_face_detect_msr01.hpp"
 #include "human_face_detect_mnp01.hpp"
 // Pin definition for CAMERA_MODEL_AI_THINKER
 #define PWDN_GPIO_NUM     32
 #define RESET_GPIO_NUM    -1
 #define XCLK_GPIO_NUM      0
 #define SIOD_GPIO_NUM     26
 #define SIOC_GPIO_NUM     27

 #define Y9_GPIO_NUM       35
 #define Y8_GPIO_NUM       34
 #define Y7_GPIO_NUM       39
 #define Y6_GPIO_NUM       36
 #define Y5_GPIO_NUM       21
 #define Y4_GPIO_NUM       19
 #define Y3_GPIO_NUM       18
 #define Y2_GPIO_NUM        5
 #define VSYNC_GPIO_NUM    25
 #define HREF_GPIO_NUM     23
 #define PCLK_GPIO_NUM     22
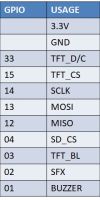
 #define SPI_MOSI 13
 #define SPI_MISO 12
 #define SPI_CLK 14
 #define SPI_SS 15

 #define TFT_DC   33 // Data Command control pin
 #define TFT_CS  15 // Chip select control pin
 #define TFT_RST -1
 #define TFT_BL 3

 #define SD_CS 4
 #define SFX_MODULE_PIN 2
 #define BUZZER_PIN 1
