Diorama Castle: Difference between revisions
| (One intermediate revision by the same user not shown) | |||
| Line 16: | Line 16: | ||
[[File:Project_Bricks.jpg]] | [[File:Project_Bricks.jpg]] | ||
Below are brief descriptions of the diorama's contents. | |||
=== LVL1 Sign === | |||
{| border="1" | {| border="1" | ||
| Line 120: | Line 121: | ||
[[File:Switch Banks.jpg]] | [[File:Switch Banks.jpg]] | ||
=== Final Words === | |||
There is more to do, but that will have to wait until next Halloween. | |||
Latest revision as of 11:22, 20 October 2011
LVL1 Presents
Overall
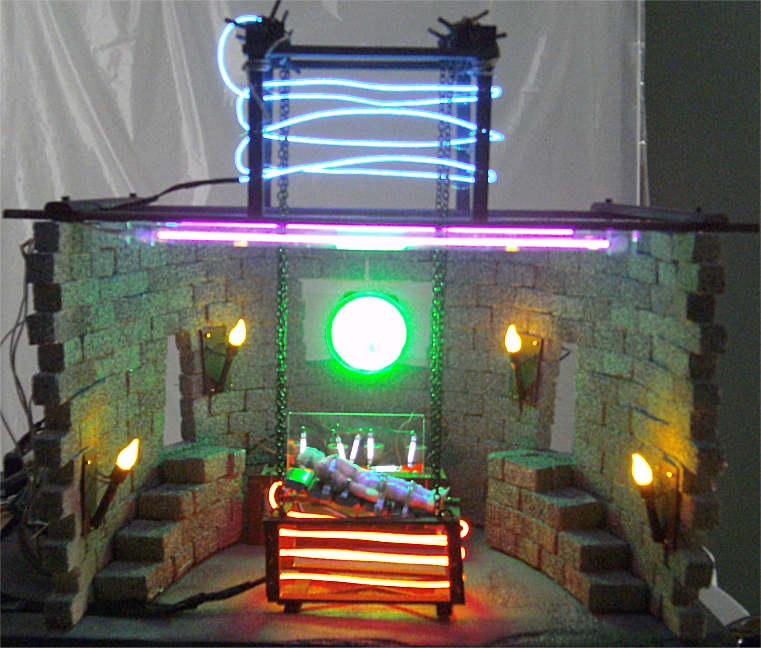
In the early days of my LVL1 membership, I was wondering which of my project skills to use as a show piece. After much thought, I decided on a nuclear fussion reactor. But the reactor would take time, so I decided to build a diorama. The diorama would show my electronic skills, my item reutilization skills as well as a sense of humor. Realizing that Dr. Frankenstein is a role model to some hackers, I decided to model his hakerspace with a touch of LVL1.
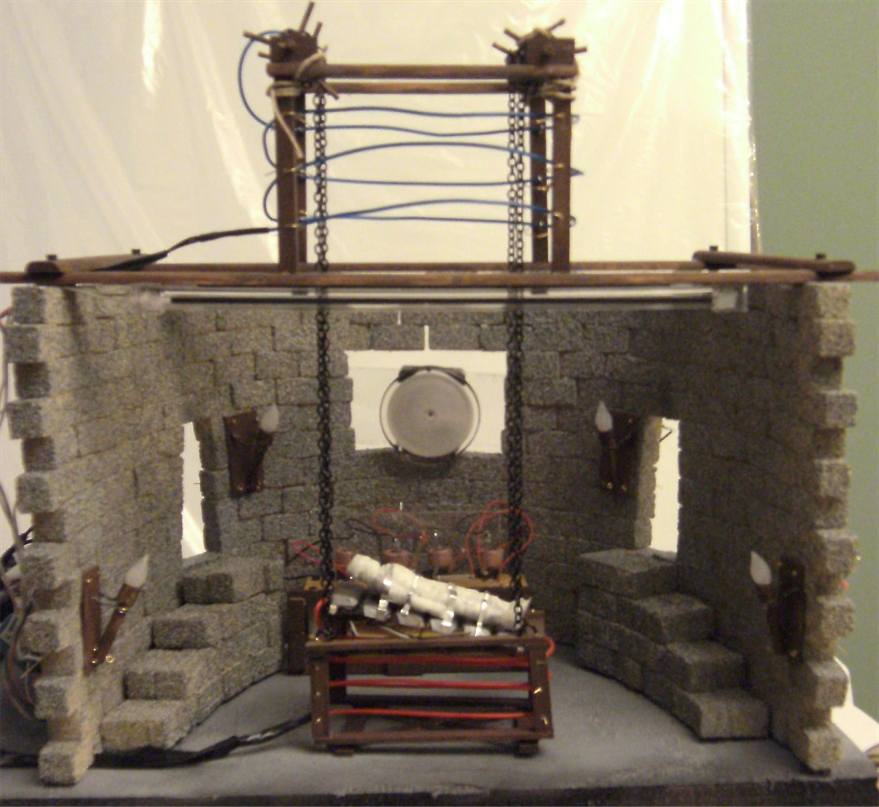
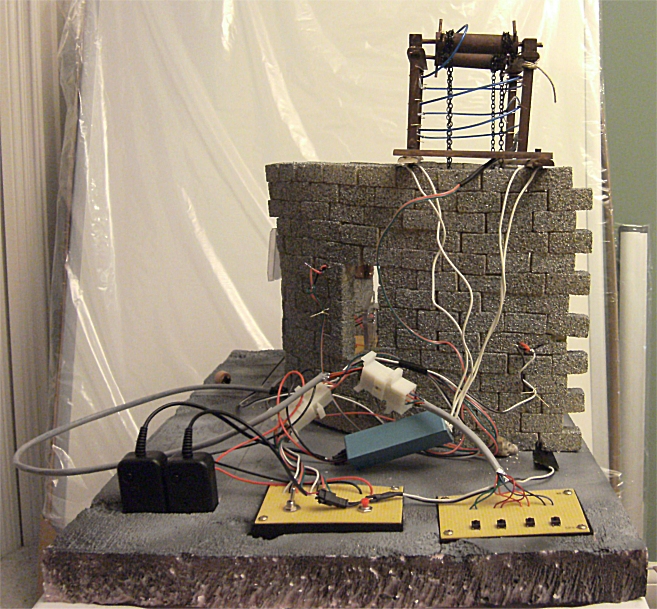
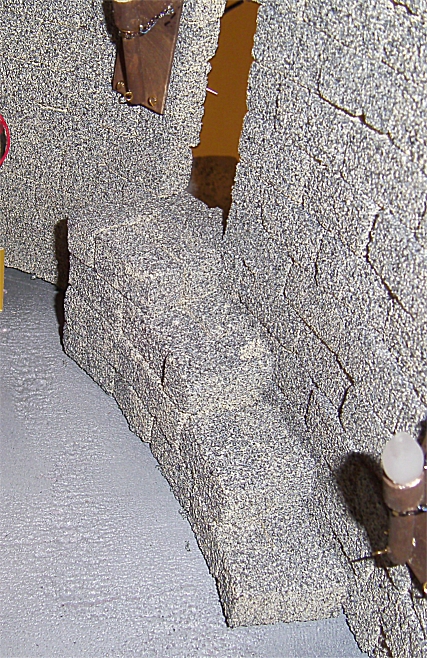
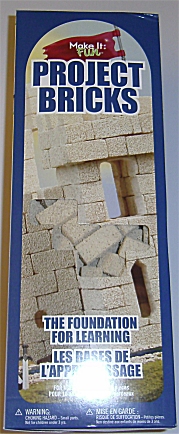
In the light of day, the diorama looks like a simple semi cylinder. The contents represent a mad scientist's laire while the outside shows a disregard for wiring safety and building codes. The walls are made of project bricks arranged together and held in place by toothpicks and liberal amounts of elmers glue. The doorways, window and stairs are taken from a few old Frankenstein movies trapped in my subconscious.
Below are brief descriptions of the diorama's contents.
LVL1 Sign
Torches
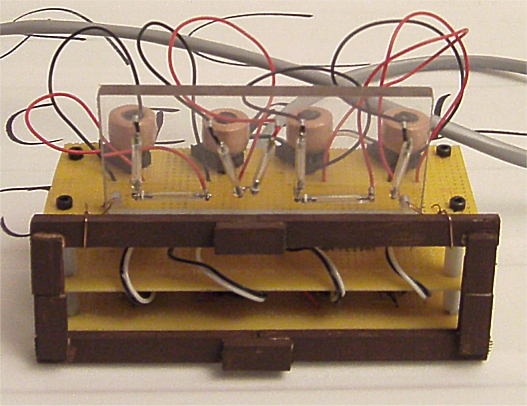
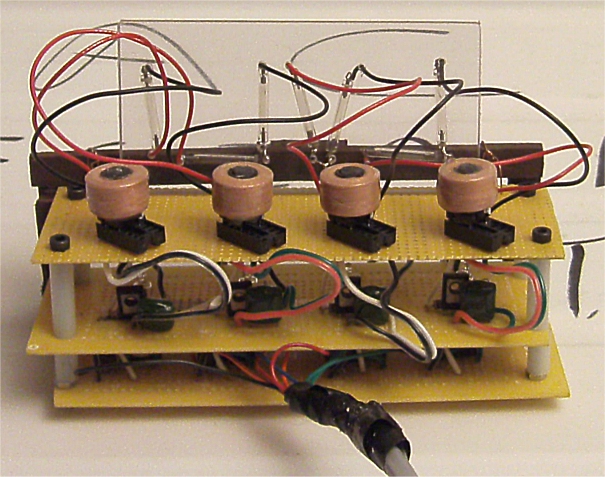
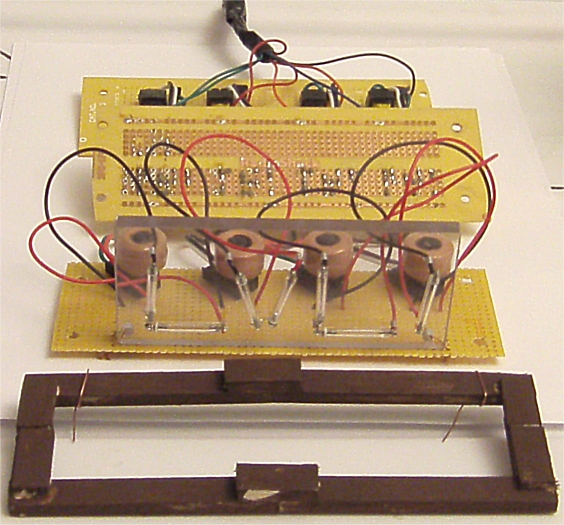
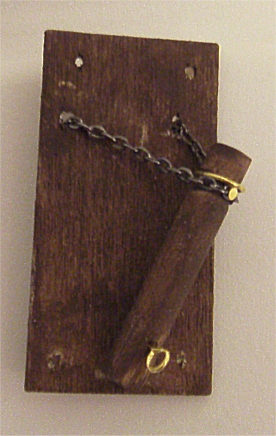
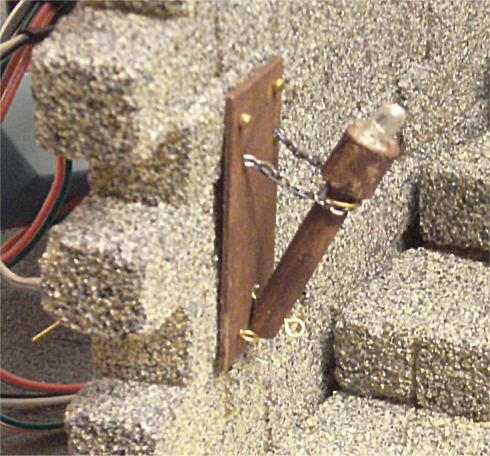
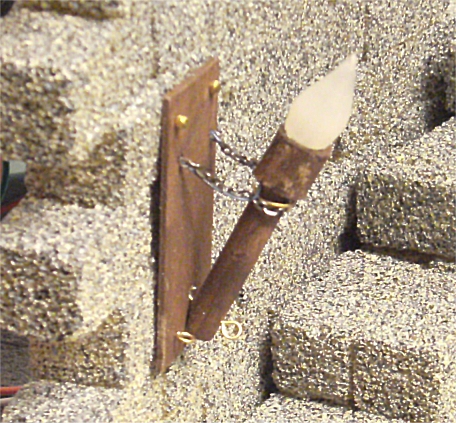
The diorama has four torches. The torches consist of flickering LEDs scavenged from electronic tea candles. The torches are made from stained dowls chained to a backboard. A second dowl is used to seat the LED. The LED has wires running inside the support chains to backboard and through the wall. The torches are then wired into a switch box.

|
|
|
|
The Monster
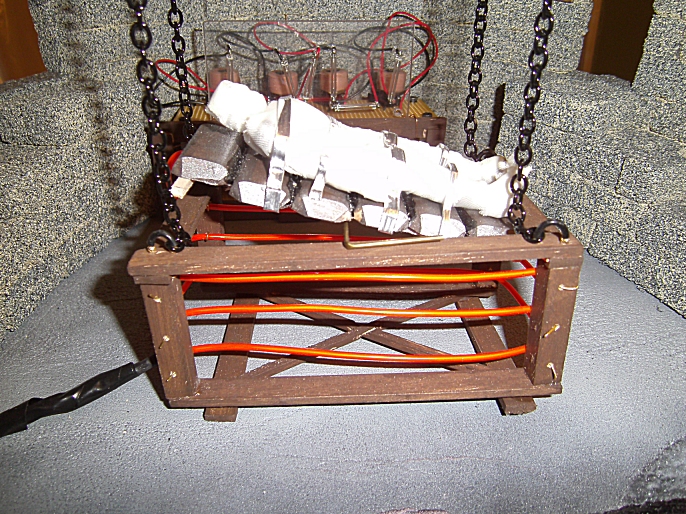
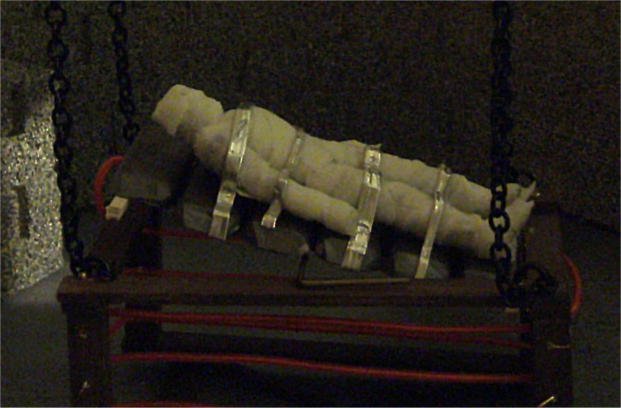
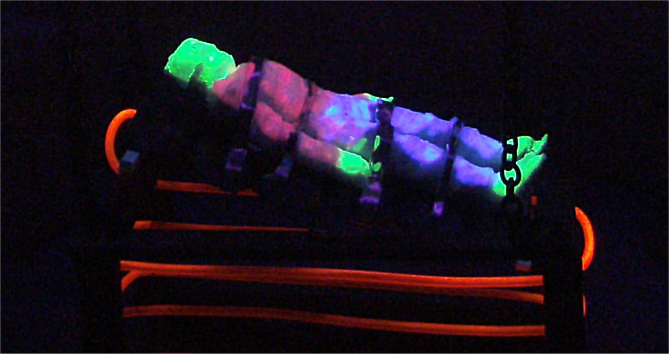
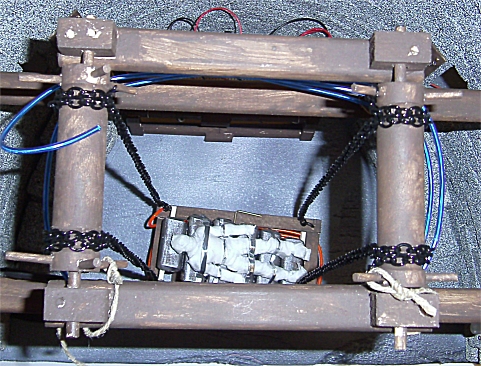
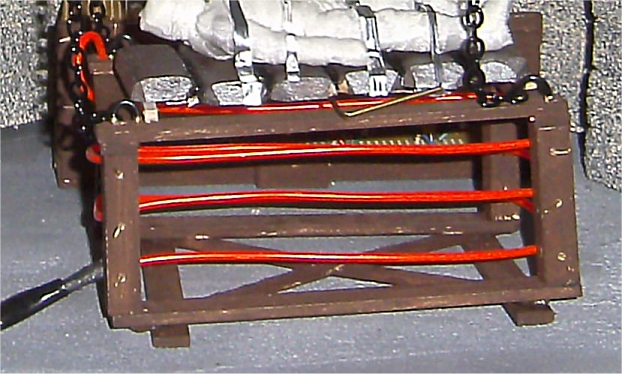
Every castle deserves a monster and that is what we have here. The monster is a mystery McDonalds toy wrapped in surgical tape (not that a real monster wouldn't be wrapped in surgical tape.). The tape has been painted with UV paint for added effect. The monster lies on a segmented slab atop a simple wooden frame.
|

|
|
|
Plasma Disk
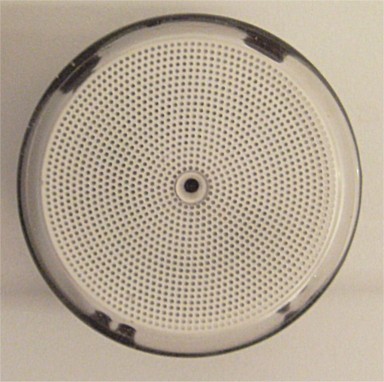
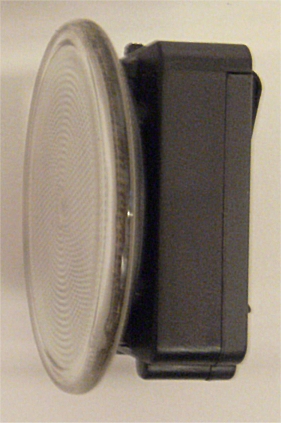
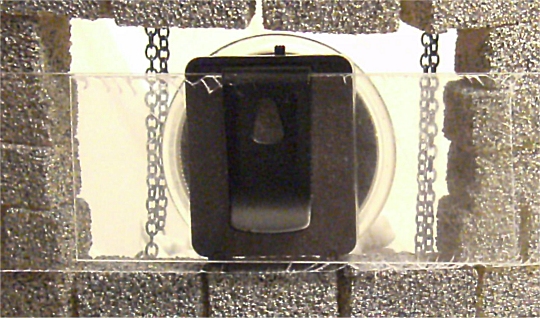
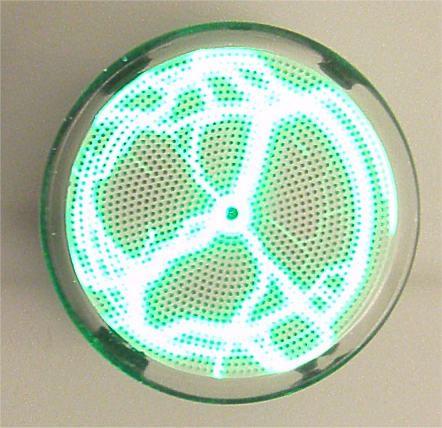
"Lightning bolts on a dish" could be used to describe this staple of mad scientist lighting effects. In this case, the effect is supplied by a "Plasma Disk" device sold as a rave accessory. On the back is a belt clip, which is used to attach thin plastic sheets for anchoring in the castle window. Even without a diorama, everyone needs one.
|
|
|
|
Scaffolding and Slab
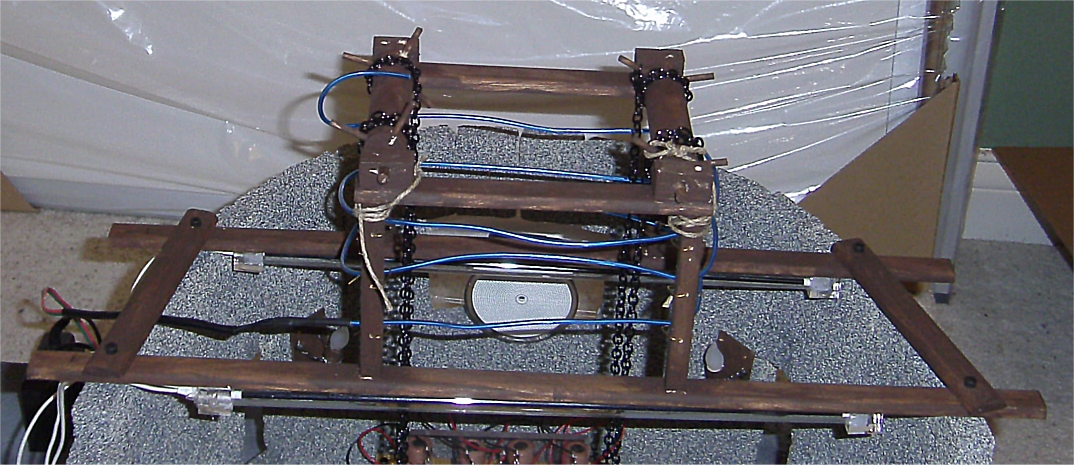
Nothing says "Mad Scientist" more than scaffolding and chains. The diorama contains a functional lifting slab. The top spools not only take up the chain but ropes are used to stop it from unspooling. The above cross bars also provide the anchor points for the "Black Lights" used to activate the UV paint. There are two segments of EL wire. The first segment is wrapped around the top scalfolding. The second segment is wrapped around the monster's slab. Each segment has its own driver and can opperate in steady, slow blink and fast blink modes.
|

|
|
|
Switches Everywhere
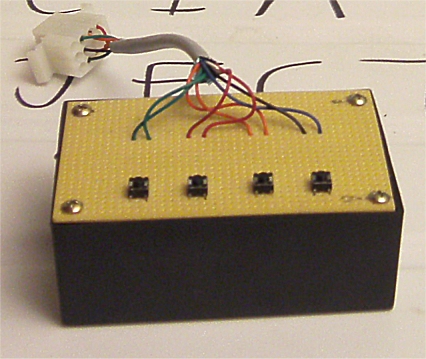
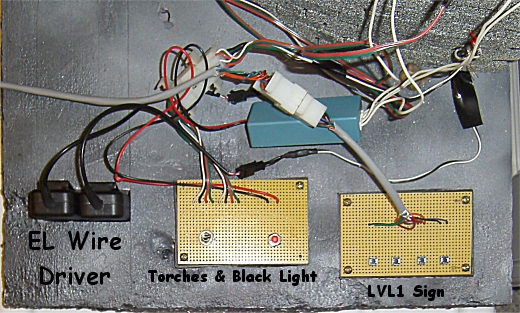
The diorama is operated by three switch banks. One switch box is exclusive to running the LVL1 sign. Another switch box holds the torch power switch and a momentary switch for operating the "Black Light". The last bank is the EL wire drivers.
Final Words
There is more to do, but that will have to wait until next Halloween.
