Difference between revisions of "Magic 8 of Hearts"
Jump to navigation
Jump to search
| Line 48: | Line 48: | ||
[[File:M8H_Board_Layout_Final.jpg]] | [[File:M8H_Board_Layout_Final.jpg]] | ||
| + | |||
| + | ==Prepare the Screen== | ||
| + | |||
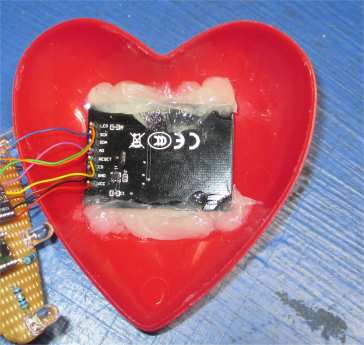
| + | Classical wirewrap will connect the screen to the controller. | ||
| + | |||
| + | [[File:M8H_LCD_Wire_Wrap.jpg]] | ||
| + | |||
| + | The screen is then glued into the front shell. | ||
| + | |||
| + | [[File:M8H_LCD_Shell.jpg]] | ||
| + | |||
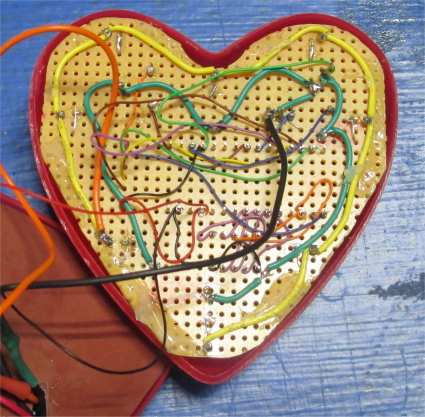
| + | Solder up all the parts. | ||
| + | |||
| + | [[File:M8H_Board_Wired.jpg]] | ||
Revision as of 22:48, 11 February 2016
Components
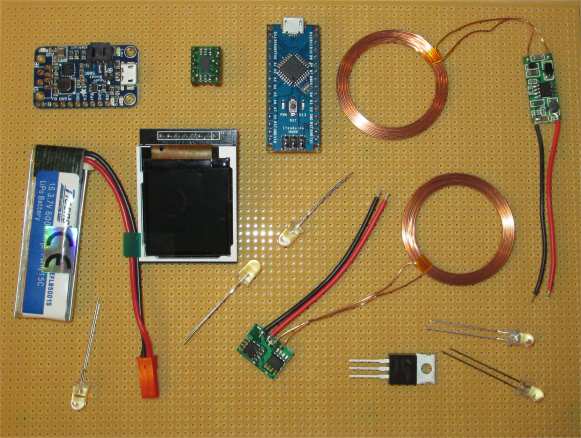
This project consists of the following parts.
| Arduino Nano | PowerBoost 500 Charger - Rechargeable 5V Lipo USB Boost @ 500mA+ |
| White LEDs | Inductive Charging Set - 5V @ 500mA max |
| 1.44" 128*128 TFT LCD SPI | 3.7v 650mah Li-po Battery |
| MMA7361LC 3-Axis Accelerometer ±1.5/6g | FQP30N06L MOSFET |
| Perf Board | Split Heart |
| Not Shown | |
| 49 ohms resister (LED) | 150 ohms resister (LCD Backlight) |
| Reed Switch | 12k ohms resister (MOSFET Limiter) |
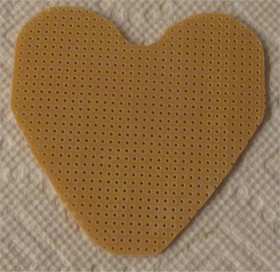
Prepare The Heart
Make a hole in the heart.
Make a insertable Perf Board
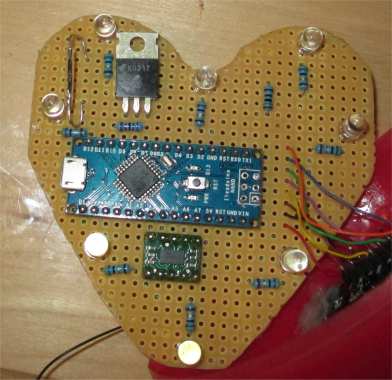
Layout the Board
After several tries, the components are placed on the board.
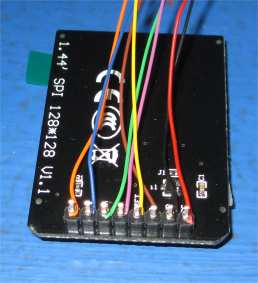
Prepare the Screen
Classical wirewrap will connect the screen to the controller.
The screen is then glued into the front shell.
Solder up all the parts.
