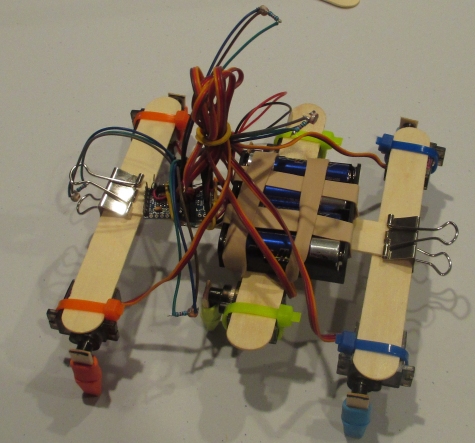
Office Supplies Hexapod
There are several projects that get discussed in a hackerspace but never seem to get built. One such project is the custom built HEXAPOD. The latest YouTube video plays and visions of HEXAPODs dance in someone's head. The project is discussed and talk of laser cutters and cnc mills dominate the reasons why it hasn't been built. The Director of Legal Evil Emeritus, as he want to do, challenges the idea of laser cutters and cnc mills as a requirement for a custom HEXAPOD. A HEXPOD of OFFICE SUPPLIES is within the reach of anyone at the space. And to prove his point he begins the build.
Started Saturday at noon and completed Sunday at 7:30 pm, here is the build (Plenty of sleep, no all nighter).
Office Supplies
What qualifies as office supplies can be subjective, but nothing used here would stretch the definition.
Four Tongue Depressors (Doctors Office)
Two Popsicle Sticks (Who doesn't have a few laying around)
Two Binder Clips
Six Zip Ties
Six Pencil Erasers
Rubber Band
Super Glue (Gel)
One Small Yellow Rubber Band (not pictured)
Color Matching Office Supplies was just a bonus.
Electronics
Standard Hacker Supplies
Pro Mini Arduino 328P 5V
Five Header Pin Strips
Four CdS Cells
Four Resistors 56K
Battery Pack 4AA (not shown)
Different Color Header Pins was just handy.
Servos
Servos were needed.
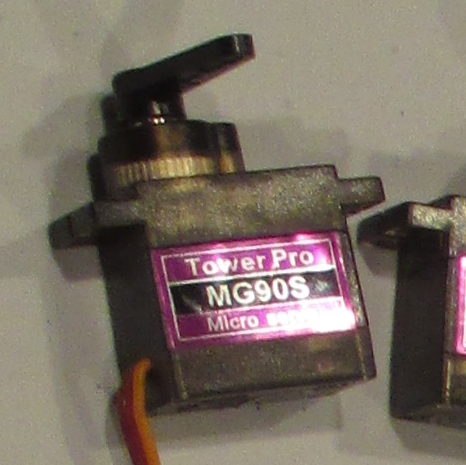
Six MG90S Micro Servos
No color coordinating here.
Basic Frame
The frame will consist of the tongue depressors held together by the clips, rubber band and a little super glue at the junctures.
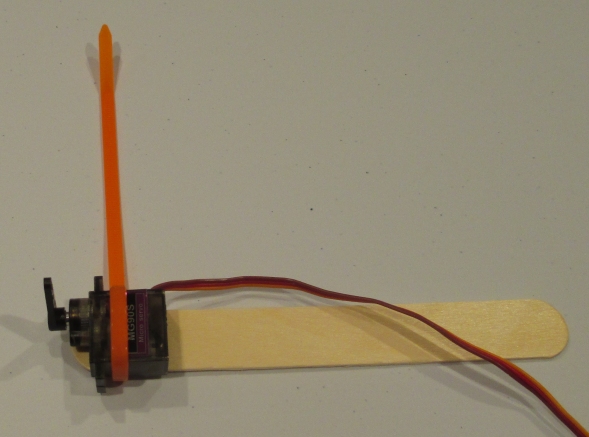
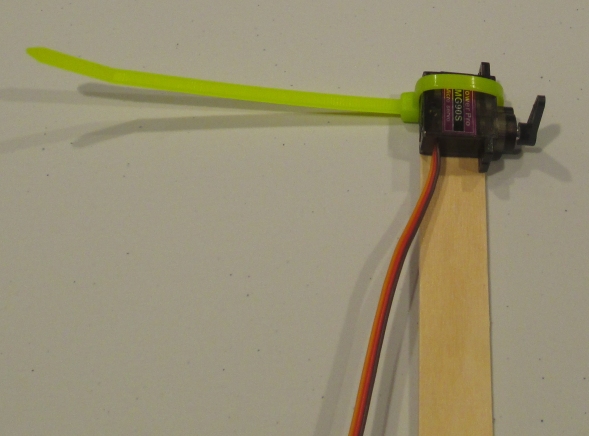
Servos On A Stick
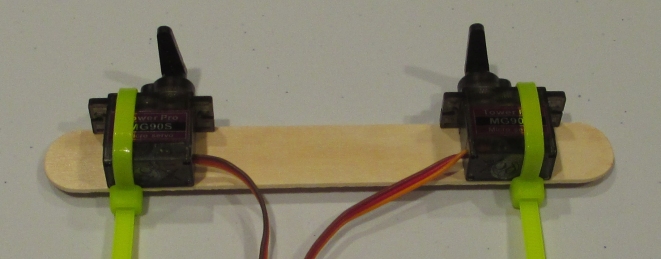
This build requires two kinds of "servos on a stick" types.
Type 1
A total of two Type 1 are made.
Type 2
A single Type 1 is made.
Arduino
The pictured Arduino has pins soldered in for programming via FDTI.
Six sets of three pins are soldered into the PWM pins (3,5,6,9,10 and11).
These sets are soldered connect the matching position of the outside pins. The connection forms two "u" shapes for power and ground. This wiring allows the servos to be plugged directly into the pin sets of three. The power is supplied from the battery pack directly via the RAW power pin on the Arduino. The ground is common.
Four sets of three pins are soldered into analog pins (A0, A1, A2 and A3).
These sets are soldered to accommodate a Cds Cell and resistor for input.
Sensor
A simple CdS Cell is wired in series with a resistor. The center tap of the items is used as input to the analog pins on the Arduino.
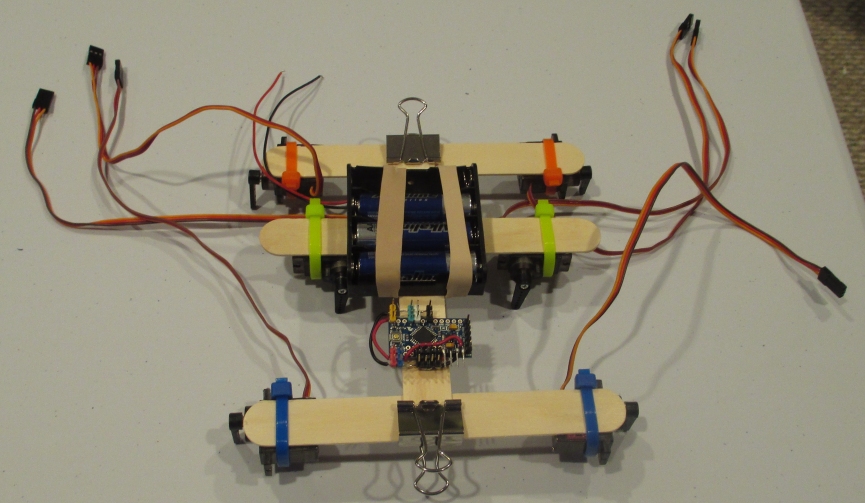
Layout
This is the general layout for the assembly. Of note is that the Arduino is reoriented in the final assembly.
Feet
The hexapod needs feet for traction.
Three items are used.
Popsicle Stick
Servo Horn
Pencil Eraser
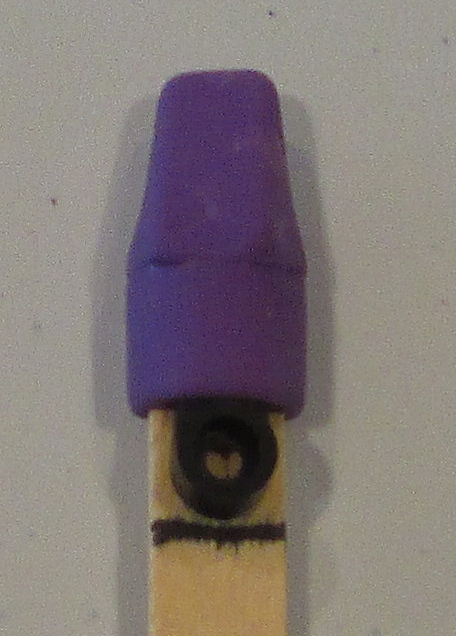
The popsicle stick and servo horn are put into the eraser. And the popsicle stick is marked for cutting.
Once cut it is attached to the servo.
Finished Product
All That is left is to make it walk.
