Shapeoko Repair Madness 2016
Contents
Survey the Field of Carnage
Death of the Shapeoko is just the beginning.
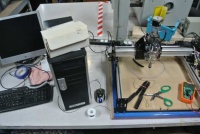
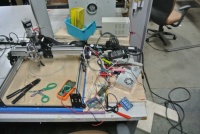
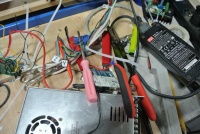
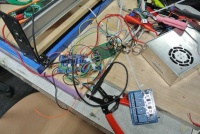
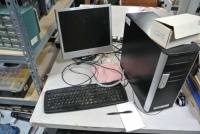
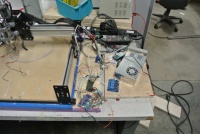
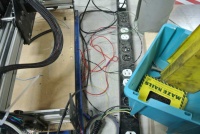
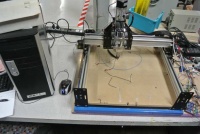
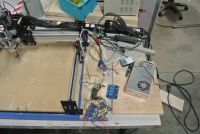
An important aspect of diagnosis is examination of the patient and the environment. In this case, a table was set aside in the hackerspace for the shapeoko. This table was meant for the "working" shapeoko and had little, if any room, for diagnostics and repair. When the shapeoko stop working, the table became the diagnostic and repair area. The following pictures show the state of the table after several attempts to diagnose and repair.
The tables was now unusable from a diagnostic and repair point of view. The next step is to clean up the area and select a suitable place to work. Rather than simply clearing off the table, I decided to remove items from the table until only the components of the shapeoko remained.
Tool Extraction
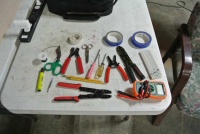
The tools below were all removed from the table. An important finding is that multiples of the same tool were found. This may indicate that multiples were needed at the same time but the tools in question and work to be performed do not support this. Instead, the multiple tools indicate multiple attempts to repair that were abandon, a single repair attempt were tools were recklessly left about or multiple repair actions in parallel. Regardless the reason, the abandoning of the tools on the table are signs of an incomplete and disorganized repair attempt. Hackerspaces can be chaotic, but a little organization when repairing equipment is of immeasurable value.
Here is how the table looks with tools removed. Evident in the photos is debris from the prior repair attempts or possible usage of the shapeoko before it stopped working.
Next step is to remove the debris.
Debris Removed
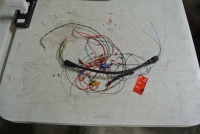
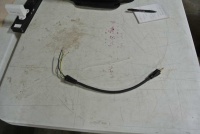
Below is a photo of the debris removed followed by a photo of the debris that can be used in the future by anyone. The majority of debris is wire clippings. This indicates that rewiring played heavily in the prior repair attempt. The different gauges and types of wire is common for hackerspace work. Tie-wrap pieces, wire insulation and simple trash make up most of the remaining debris. Cleaning the working space and especially the repair space can not be over emphasized. First thing to do when operating or repairing is clean up. When operating or repairing, periodic cleanups are important to ensure a smooth work flow.
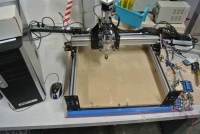
What Remains is the Shapeoko
Inventorying The Assemblies
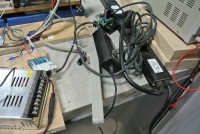
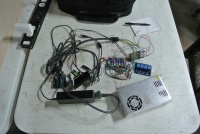
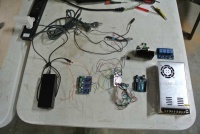
Below are photos of the shapeoko electronics as wired together and separated. From these assemblies a simple inventory of components will be made.
Assemblies are:
- Powerbrick for Steppers
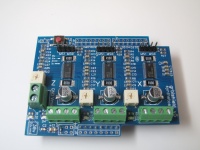
- Stepper Controller Board (GSHIELD)
- Arduino UNO
- Power Supply for Spindle
- Relay Module
- Spindle Motor Controller
- Wiring Patch Board
And the Mechanical Beast
Cleaning Up at the Stopping Point
Time ran out at this point on the diagnosis and repair adventure. Keeping with the advice to cleanup, the shapeoko table and parts was secured until next time.
Preliminary List of Findings
Hardware
These are items directly observed on the shapeoko:
- Cables need to be labeled
- Cable routing and securing needs to be redone
- Limit switches need to be securely mounted and wired
- When wire ties are used, they need to be trimmed
- Missing insertion nut for securing device bed -- this has been found and reinstalled
These are some suggestions from users and experience:
- Cables need to be consistent gage and type
- Connectors need to be keyed (so they only fit together one way) and standardized
- Mount assemblies in enclosures to limit exposure
- Motor connections must "lock" together to prevent intermittent disconnect and connects from damaging controller circuits
- Install an "Emergency Stop" which is consistent with this type of device
- Cooling requirements tested and accommodated
- Spares Box (at present a small cardboard box has some pieces, this should be replaced, organized and formalized as the spares box)
The lists above are very telling. The lists above cover things that are applicable to the device even if it was in working condition. Whether in a hackerspace or not, these findings have practical survivability and safety value. Just because something works, does not mean it is safe to use or will survive a single use. If we intend to share the equipment, we need to offer protection to the user and ensure the machine works for the next user.
Finding Out Why It Doesn't Work
Items needing to be tested:
- Stepper Control board (GSHIELD)
- Stepper motors
- Power supplies
- Arduino UNO
- Spindle Controller
Things to be researched and documented:
- Connection diagram for the assemblies
- Determine heat sink and cooling fan needs for control boards
- Determine how control board interfaces with spindle (ON/OFF and Speed)
- Research connectors and cabling appropriate for this device type
- Research alternatives for table materials & mounting
Details and Findings
Missing Insertion Nut
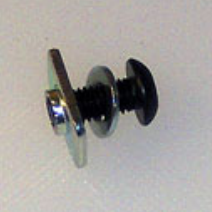
The insertion nut is the rectangular piece. M5 thread, 10mm x 15mm x 1.5mm
This is a common type of hardware for the aluminum extrusion framing used. A replacement will be located and purchased.
Note: This has been found and reinstalled.
Arduino UNO
The board appears to function normally. A few sketches, such as the blinky and custom sketches, were successfully uploaded and executed.
Stepper Controller board (GSHIELD)
The board was tested and the following was observed
- The D1 LED onboard blinked
- As the LED blinked, the power supply also blinked indicating a shorting condition
- A review of message boards indicate that the situation, when presented on a new board, requires return of board for replacement
- This condition on a previously working board indicates damaged board that also needs replacing.
This board was replaced at least ounce before on the shapeoko. The prior incident and the latest incident were reported to occur after a shorting event. This means the problem is in the board being shorted and not the board itself. The previously mentioned need for enclosures would reduce the likelihood of additional shorts.
Finding a New Stepper Controller Board
With the existing board out of commission, it is time to replace the board.
Options:
- Replace with same GSHIELD type
- Replace with similar board
- Replace with LVL1 designed board
Consider that replacing with a LVL1 designed board will delay things for an unknown amount of time. The previous GSHIELDs were done in by things around them and are not the inherent problem. A new board, commercially available, will need to be vetted for compatibility with existing device and G-Code sender software. Suggestions can be posted in the google group under a SHAPEOKO BOARD SUGGESTION thread if you wish to create one.
New Stepper Board Alternatives
GSHIELD Same As Before
Replace broken shield with working shield of same model. The problems causing the shapeoko to fail are not inherent to the board but a matter of implementation and handling.
Cost: $50-$70
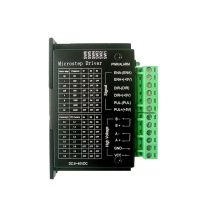
Discrete TB6600 Single Axis Stepper Drivers
The idea is to use these units to drive the stepper motors. An Arduino would still be used to generate the signals, but the driver circuits would not be on a shield. The GSHIELD only uses the D2 thru D8 pins for stepper motor driving and leaves the other pins as pass through. The current limiting and micro-stepping would be set on each TB6600 separately. The rest is just wiring to an Arduino proto shield.
Cost: $16-$24 per Stepper (mirroring dual Y Axis steppers done via wiring swap on one stepper)
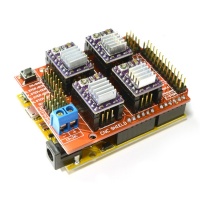
Generic CNC Shield
There are several generic CNC shields for the Arduino. Most newer ones have four stepper drivers. They usually use the D12 and D13 pins for the fourth stepper which can be mirrored to the Y Axis or left open for the usual spindle signals. These boards have the advantage of removable stepper drivers. If one driver is damaged, and only the driver, then a new module is swapped in without requiring an entire board replacement.
Cost: $13-$25
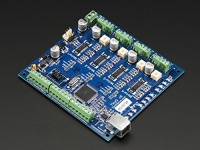
TinyG Shield
The next generation of the GSHIELD. This drives Steppers and other motors. Does not require an Arduino to be attached. This is above and beyond the need but it is an option.
Cost ~$125.00
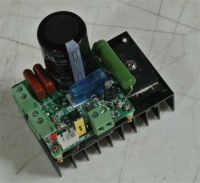
Spindle Motor Controller
The spindle motor controller (speed only) was not setup to use a PWM signal from the GSHIELD to regulate speed. This functionality is to be used in the new setup.
Standardized Connectors
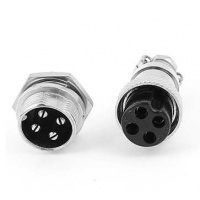
Standardized connectors with features such as locking shells and keyed pinning will be used.
Stepper Motor Connectors
The stepper motor leads will be attached to the connector below.
The stepper motor cable from the shapeoko to the control box will use the connectors below.
Limit Switches
The limit switches will use the connector below.
The limit switch cable from the shapeoko to te control box will use the connector below.
Information
Stepper motor specs
Note: Stepper motors are Smart Automation SM42HT47-1684B. Specs are on this page.
Rated voltage = 2.8 V
Rated current = 1.68 A
Rated resistance = 1.65 Ohms
Rated inductance = 2.8 mH
possible e-stop solution
Note: Here's a block diagram for adding an emergency stop that looks like it may be a reasonable solution:
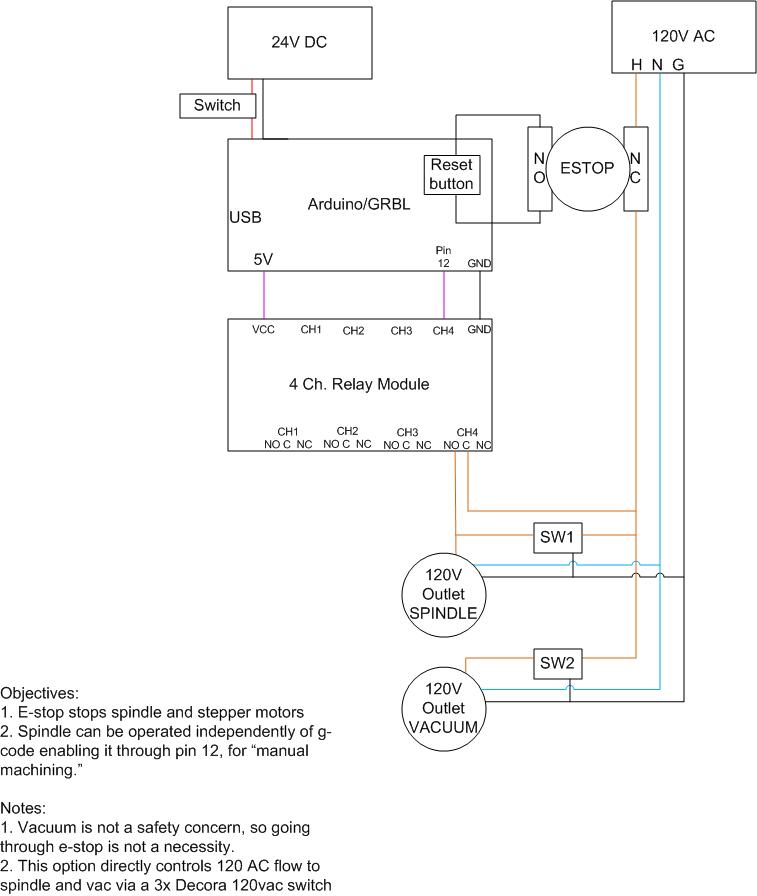
Table Replaced
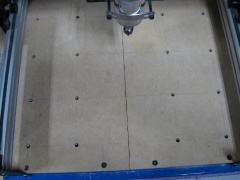
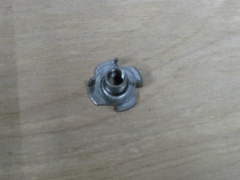
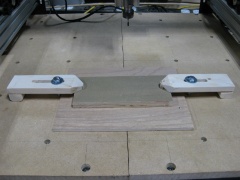
A new table has been installed. This new table has a grid of holes, each of which has a T-nut inserted from below.
These T-nuts accept a standard 1/4 x 20 bolt thread and can be used to secure your work pieces.
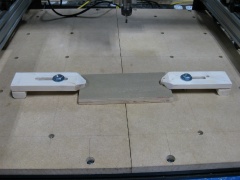
A set of clamps has been fabricated and new ones can be made as needed.
If you will be cutting all the way through your work piece, please place a sacrificial board (such as 1/8 plywood or Masonite) under your work piece to avoid damaging the table.
Software
Note: This section will be expanded when hardware issues are fixed.
- Determine whether min/max limits are stored
- Determine optimum software versions and document all settings
