Difference between revisions of "Graphtec Vinyl Cutter"
Jump to navigation
Jump to search
(→Text) |
|||
| Line 133: | Line 133: | ||
* Extensions -> Cutter/Plotter -> InkCut | * Extensions -> Cutter/Plotter -> InkCut | ||
* Print! | * Print! | ||
| + | ==Troubleshooting== | ||
| + | *If you run into a HPGL error on the cutter, then the cutter is in the wrong mode. Follow these instructions to put your cutter in the correct mode... | ||
| + | http://www.signwarehouse.com/support/index.php?_m=knowledgebase&_a=viewarticle&kbarticleid=292 | ||
| + | *If your cuts do not go deep enough, then it is possible the cutter thinks it is in PEN mode. Press the '''Cond.''' key on the cutter and then choose the 09U cutter by using the arrow keys and enter. | ||
| + | *When all else fails - RTFM - http://www.graphtecamerica.com/users_manuals/CutPlot_UM/CE5000-UM-152-01.pdf | ||
Revision as of 09:07, 27 March 2013
[Equipment|Back to list of Equipment]]

|
Contents
General
|
Basic Info
- Located upstairs
- stuff and things
- it's really awesome
Configuration
- The knife should not cut through the paper backing! A little scratching is OK, but if it's leaving holes in the paper you've got the pressure set too high.
- 15 is a good pressure for the vinyl we have now.
- I'll write up more later...
Using the Plotter
Load Vinyl
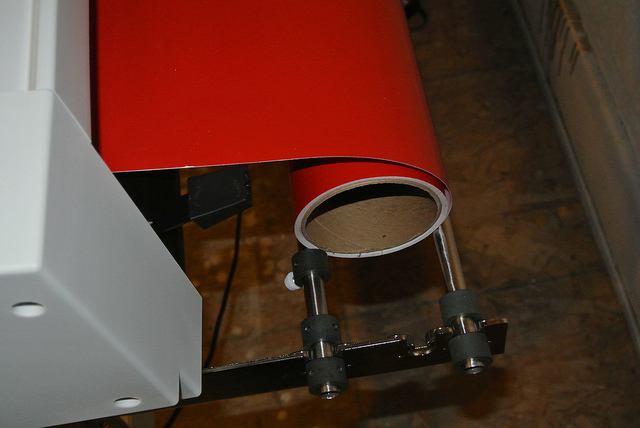
- Place roll on back rack
- Put lever in down position to unlock
- feed vinyl in from the back
- it will get stuck on lips as you push it through. I suggest using a small tool to help lift it up.
Position Rollers
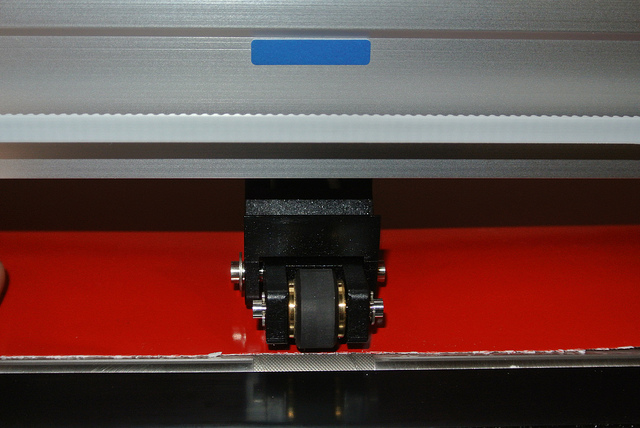
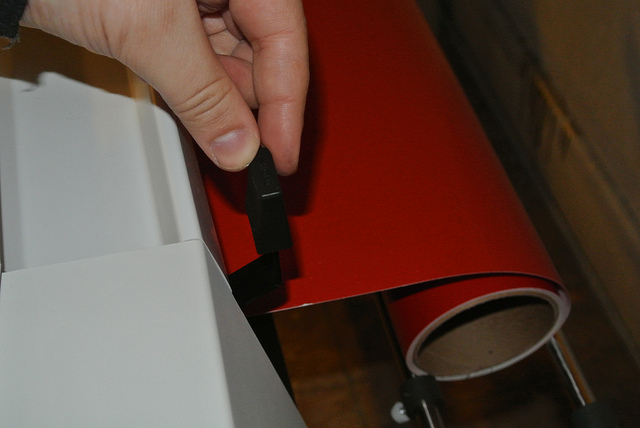
- With the lever unlocked, slide the rollers into the appropriate spots
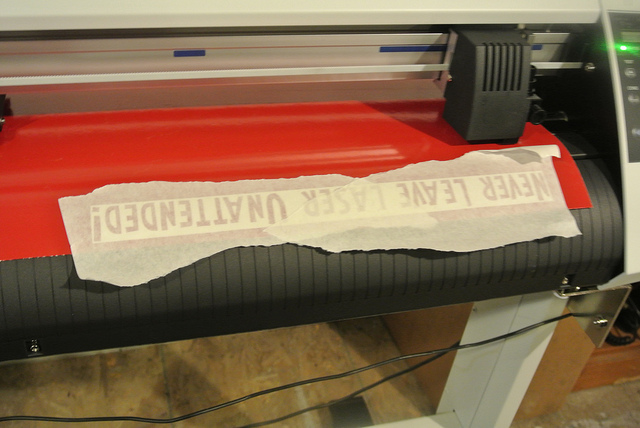
- Rollers can only be placed underneath the blue lines
- If you look closely in the picture, you can see the knurling on the bar beneath the rollers. This is how the machine moves the vinyl, if the rollers are not in these spots the plotter will refuse to run.
- The plotter will only cut in between the rollers, make sure they are placed bigger than your cut.
- Ideally the rollers should be as close as possible to make it less likely for the vinyl to fold up.
Lock Vinyl
- Flip the lever in the back up (locked)
- The plotter should prompt you "ROLL 1 PRESS ENTER"
- Roll 1 will automatically calibrate itself to the very front edge of the vinyl
- Roll 2 will not look for the edge, but will accept the place you have locked it in as the origin
- I forgot what the other modes do
- Press enter
- The head will move around, check roller locations, and then go to home.
- Once locked and homed do not manually move things! From here on, use the keypad for movement.
Position Head
- Move head with keypad to desired origin
- Press Origin
- This will set the home to wherever on the vinyl you've moved the head to.
- This is handy for avoiding other peoples cuts
Cut
- You're ready to cut!
- In your print settings make sure you cut a box around the print (aka weeding)
- Print!
Remove Weeding
- Once the cut is done you have a few options
- For large things, go ahead and cut the paper and work with the cut on a desk
- For smaller things, try to work with it without cutting the backing. This makes the roll easier to work with as other people fill in the usable gaps.
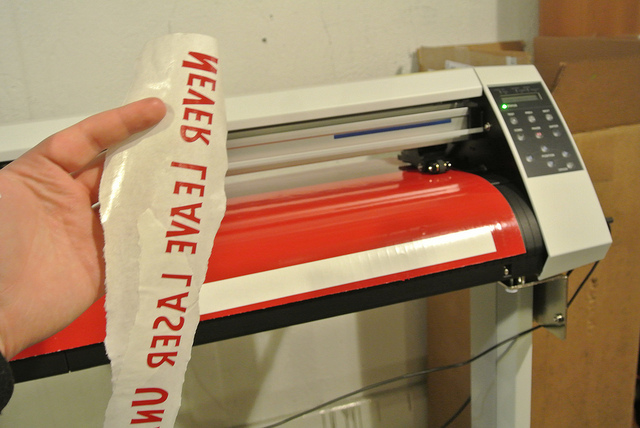
- With an Exacto knife (or other small, sharp tool) carefully pull out the weeding. In this example I left the backing untouched.
- Even with a properly adjusted plotter, a few things will stick. Don't expect the weeding to pull out perfectly without any finesse and mash the plotter knife down to compensate. Just go slow, and use your knife to either hold down pieces or cut stuck edges.
Pick up design with transfer tape
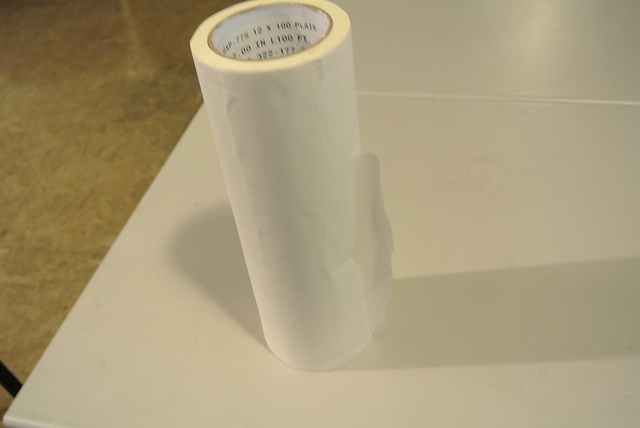
- Get some transfer tape and place it over the design
- Gently pick up design with the transfer tape
- If you're picking up a design that's still attached to the roll, please pay attention to what you're doing to the good vinyl. It's easy to focus on the design and stretch out and ruin otherwise good areas of vinyl.
Clean Target Surface
- Remove old, inadequate labels made by people without awesome vinyl cutters
- Clean surface
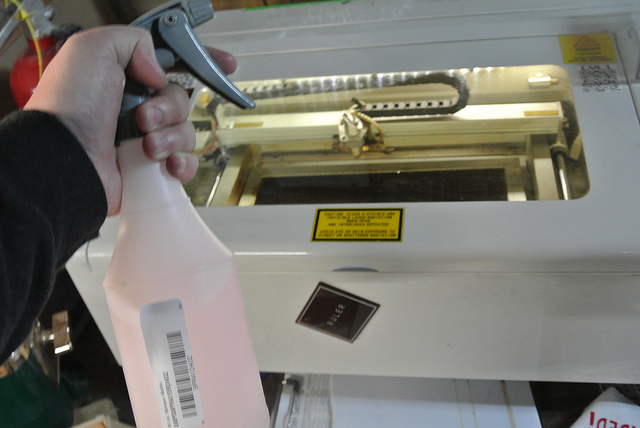
Spray Transfer Solution
- Put a light misting of transfer solution on either the target object or your design
- Lighter will stick faster
- More will give you more time to place your design, but it can be hard to keep the design in place once you want it to stay
- I prefer to hold the design at a distance and give it a light misting
Place Design
- Place your design on the target surface.
- With the solution it should be able to slide around easily
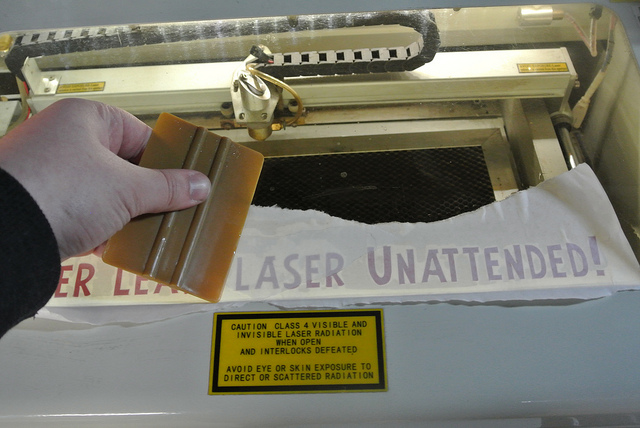
- When in its final location, use a squeegee to work out some of the transfer solution. Be sure to work from the inside out.
- On small things like this text, it's not going to do a lot
- On big things it's easy to leave pockets of transfer solution under the vinyl. Be more diligent with larger designs.
Let Dry Some
- Ugh. I hate this part.
- You don't have to let it dry all the way.
- The vinyl needs to sit for a bit to adhere to the target surface. If you're impatient like me, you can spray a little transfer solution onto the transfer tape to wetten it and weaken its hold on the vinyl.
Peel off Transfer Tape
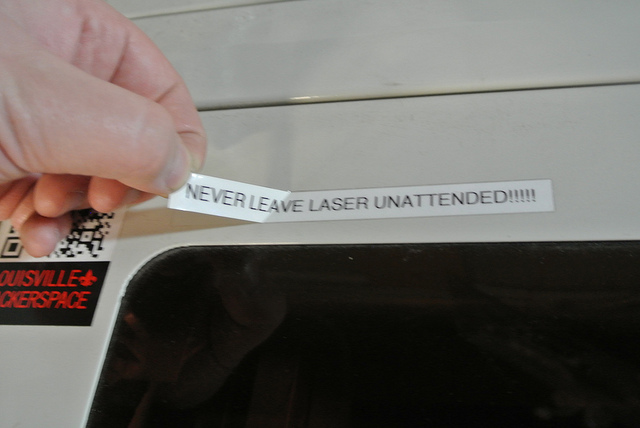
- Test a corner, then carefully peel off the transfer tape.
- Depending on how early you peel off the transfer tape you might be able to move things around a bit. Fix any small things like punctuation, the dots above i's, etc.
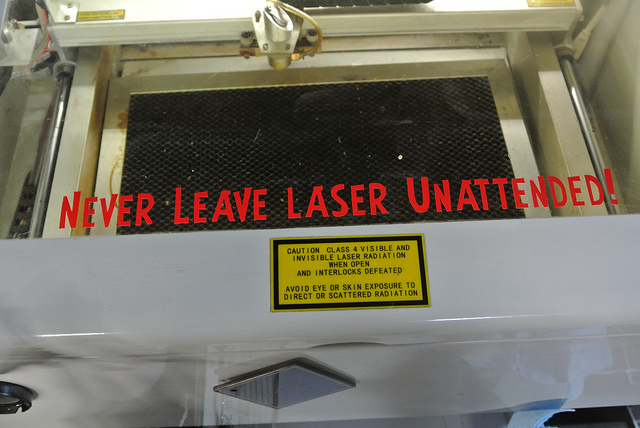
Finished!
- Admire your work and don't touch it for awhile so it can dry completely.
Setting up Linux
- Hook up to USB
- Install printer in CUPS
- Choose Raw Queue as driver
- Maker sure plotter is in HG-GL mode
- Hit pause
- Page Next until you see command
- Enter
- Arrow over to HG-GL
- The best way to plot in Linux is with the Inkscape plugin, InkCut
- Install inkscape
- Download InkCut here:
http://inkcut.sourceforge.net/
mv InkCut-1.0.tar.gz ~/.config/inkscape/extensions/
cd ~/.config/inkscape/extensions/
tar -xf InkCut-1.0.tar.gz
Using InkCut and Inkscape
Basics
- start Inkscape
- draw something to print
- remove Fill, add Stroke
- change to Path
- select it
- Extensions -> Cutting/Plotting -> InkCut
Text
- Create text
- fatter characters will be easier to work with
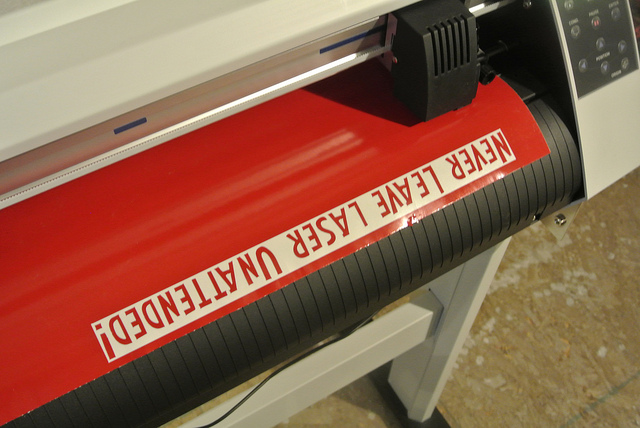
- Rotate text 90 degress if needed (default will cut deep, not along the front edge of the vinyl. The laser example used above was rotated 90 degress)
- Select text
- Object -> Fill and Stroke
- No fill
- Select some stroke
- Object -> Object to Path
- Object -> Ungroup
- Extensions -> Cutter/Plotter -> InkCut
- Print!
Troubleshooting
- If you run into a HPGL error on the cutter, then the cutter is in the wrong mode. Follow these instructions to put your cutter in the correct mode...
http://www.signwarehouse.com/support/index.php?_m=knowledgebase&_a=viewarticle&kbarticleid=292
- If your cuts do not go deep enough, then it is possible the cutter thinks it is in PEN mode. Press the Cond. key on the cutter and then choose the 09U cutter by using the arrow keys and enter.
- When all else fails - RTFM - http://www.graphtecamerica.com/users_manuals/CutPlot_UM/CE5000-UM-152-01.pdf

