Difference between revisions of "Graphtec Vinyl Cutter"
Jump to navigation
Jump to search
| Line 16: | Line 16: | ||
* Ideally the rollers should be as close as possible to make it less likely for the vinyl to fold up. | * Ideally the rollers should be as close as possible to make it less likely for the vinyl to fold up. | ||
[[File:positionroller.jpg]] | [[File:positionroller.jpg]] | ||
| − | * Flip lever up | + | ===Lock Vinyl=== |
| − | * Press enter for | + | * Flip the lever in the back up (locked) |
| + | * The plotter should prompt you "ROLL 1 PRESS ENTER" | ||
| + | ** Roll 1 will automatically calibrate itself to the very front edge of the vinyl | ||
| + | ** Roll 2 will not look for the edge, but will accept the place you have locked it in as the origin | ||
| + | ** I forgot what the other modes do | ||
| + | * Press enter | ||
| + | * The head will move around, check roller locations, and then go to home. | ||
| + | * Once locked and homed do not manually move things! From here on, use the keypad for movement. | ||
| + | [[File:leverup.jpg]] | ||
* Move head with keypad to desired origin | * Move head with keypad to desired origin | ||
* Press Origin | * Press Origin | ||
Revision as of 04:36, 23 March 2013
Contents
Basic Info
- Located upstairs
- ...
Using the Plotter
Load Vinyl
- Place roll on back rack
- Put lever in down position to unlock
- feed vinyl in from the back
- it will get stuck on lips as you push it through. I suggest using a small tool to help lift it up.
Position Rollers
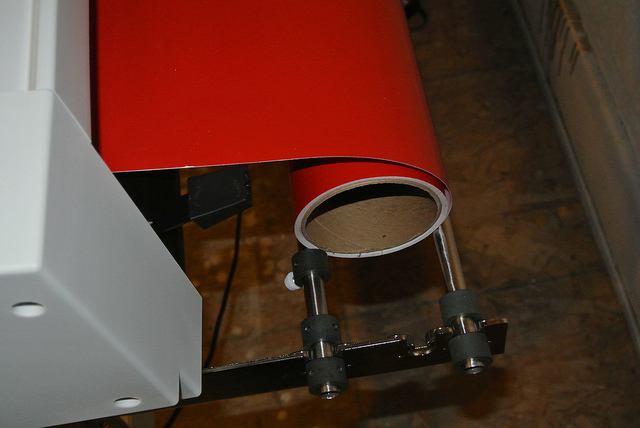
- With the lever unlocked, slide the rollers into the appropriate spots
- Rollers can only be placed underneath the blue lines
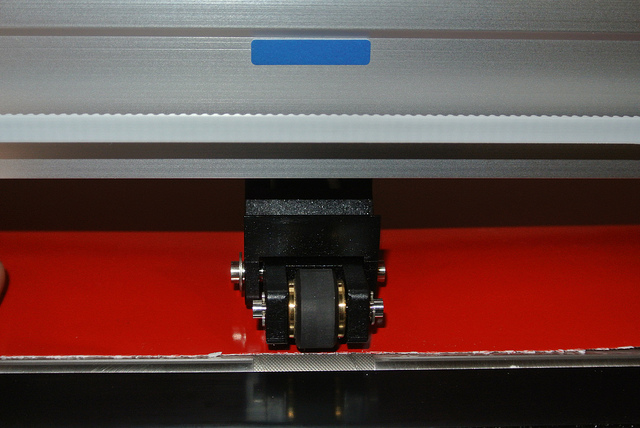
- If you look closely in the picture, you can see the knurling on the bar beneath the rollers. This is how the machine moves the vinyl, if the rollers are not in these spots the plotter will refuse to run.
- The plotter will only cut in between the rollers, make sure they are placed bigger than your cut.
- Ideally the rollers should be as close as possible to make it less likely for the vinyl to fold up.
Lock Vinyl
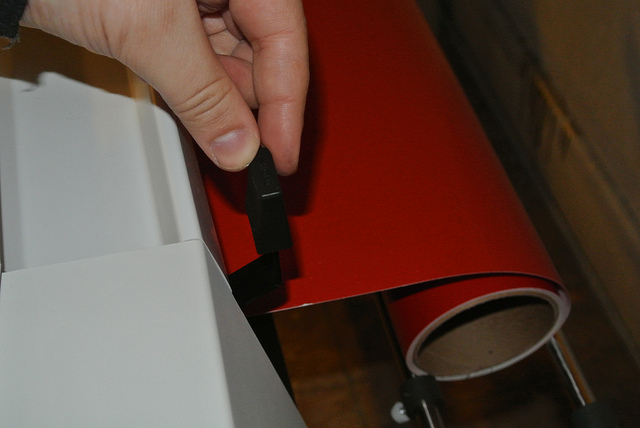
- Flip the lever in the back up (locked)
- The plotter should prompt you "ROLL 1 PRESS ENTER"
- Roll 1 will automatically calibrate itself to the very front edge of the vinyl
- Roll 2 will not look for the edge, but will accept the place you have locked it in as the origin
- I forgot what the other modes do
- Press enter
- The head will move around, check roller locations, and then go to home.
- Once locked and homed do not manually move things! From here on, use the keypad for movement.
- Move head with keypad to desired origin
- Press Origin
- Print!
- Pull out weeding
- put transfer tape on design
- clean target surface
- put on a light spray of transfer solution
- place vinyl on object
- squeegee transfer solution out from design (inside to out)
- let dry
- peel of transfer tape
- done!
Setting up Linux
- Hook up to USB
- Install printer in CUPS
- Choose Raw Queue as driver
- Maker sure plotter is in HG-GL mode
- Hit pause
- Page Next until you see command
- Enter
- Arrow over to HG-GL
- The best way to plot in Linux is with the Inkscape plugin, InkCut
- Install inkscape
- Download InkCut here:
http://inkcut.sourceforge.net/
mv InkCut-1.0.tar.gz ~/.config/inkscape/extensions/
cd ~/.config/inkscape/extensions/
tar -xf InkCut-1.0.tar.gz
Using InkCut and Inkscape
Basics
- start Inkscape
- draw something to print
- make sure it is a path
- select it
- Extensions -> Cutting/Plotting -> InkCut
Text
- Create text
- fatter characters will be easier to work with
- Rotate text 90 degress if needed (default will cut deep, not along the front edge of the vinyl)
- Select text
- Object -> Fill and Stroke
- No fill
- Select some stroke
- Object -> Object to Path
- Object -> Ungroup
- Extensions -> Cutter/Plotter -> InkCut
- Print!


